Read more
Examples of worksheet templates are VOB and FMEA. With these functions, the program automatically creates a new worksheet with predefined content, which can then be filled in.
Example: Creating a VOB table
Step 1: Go to the “Define Phase” tab.
Step 2: Click on the “VOB” button.
The following form opens:
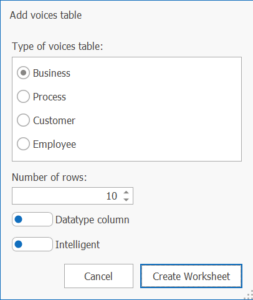
Step 3: Click on the “Create Worksheet” button in the form.
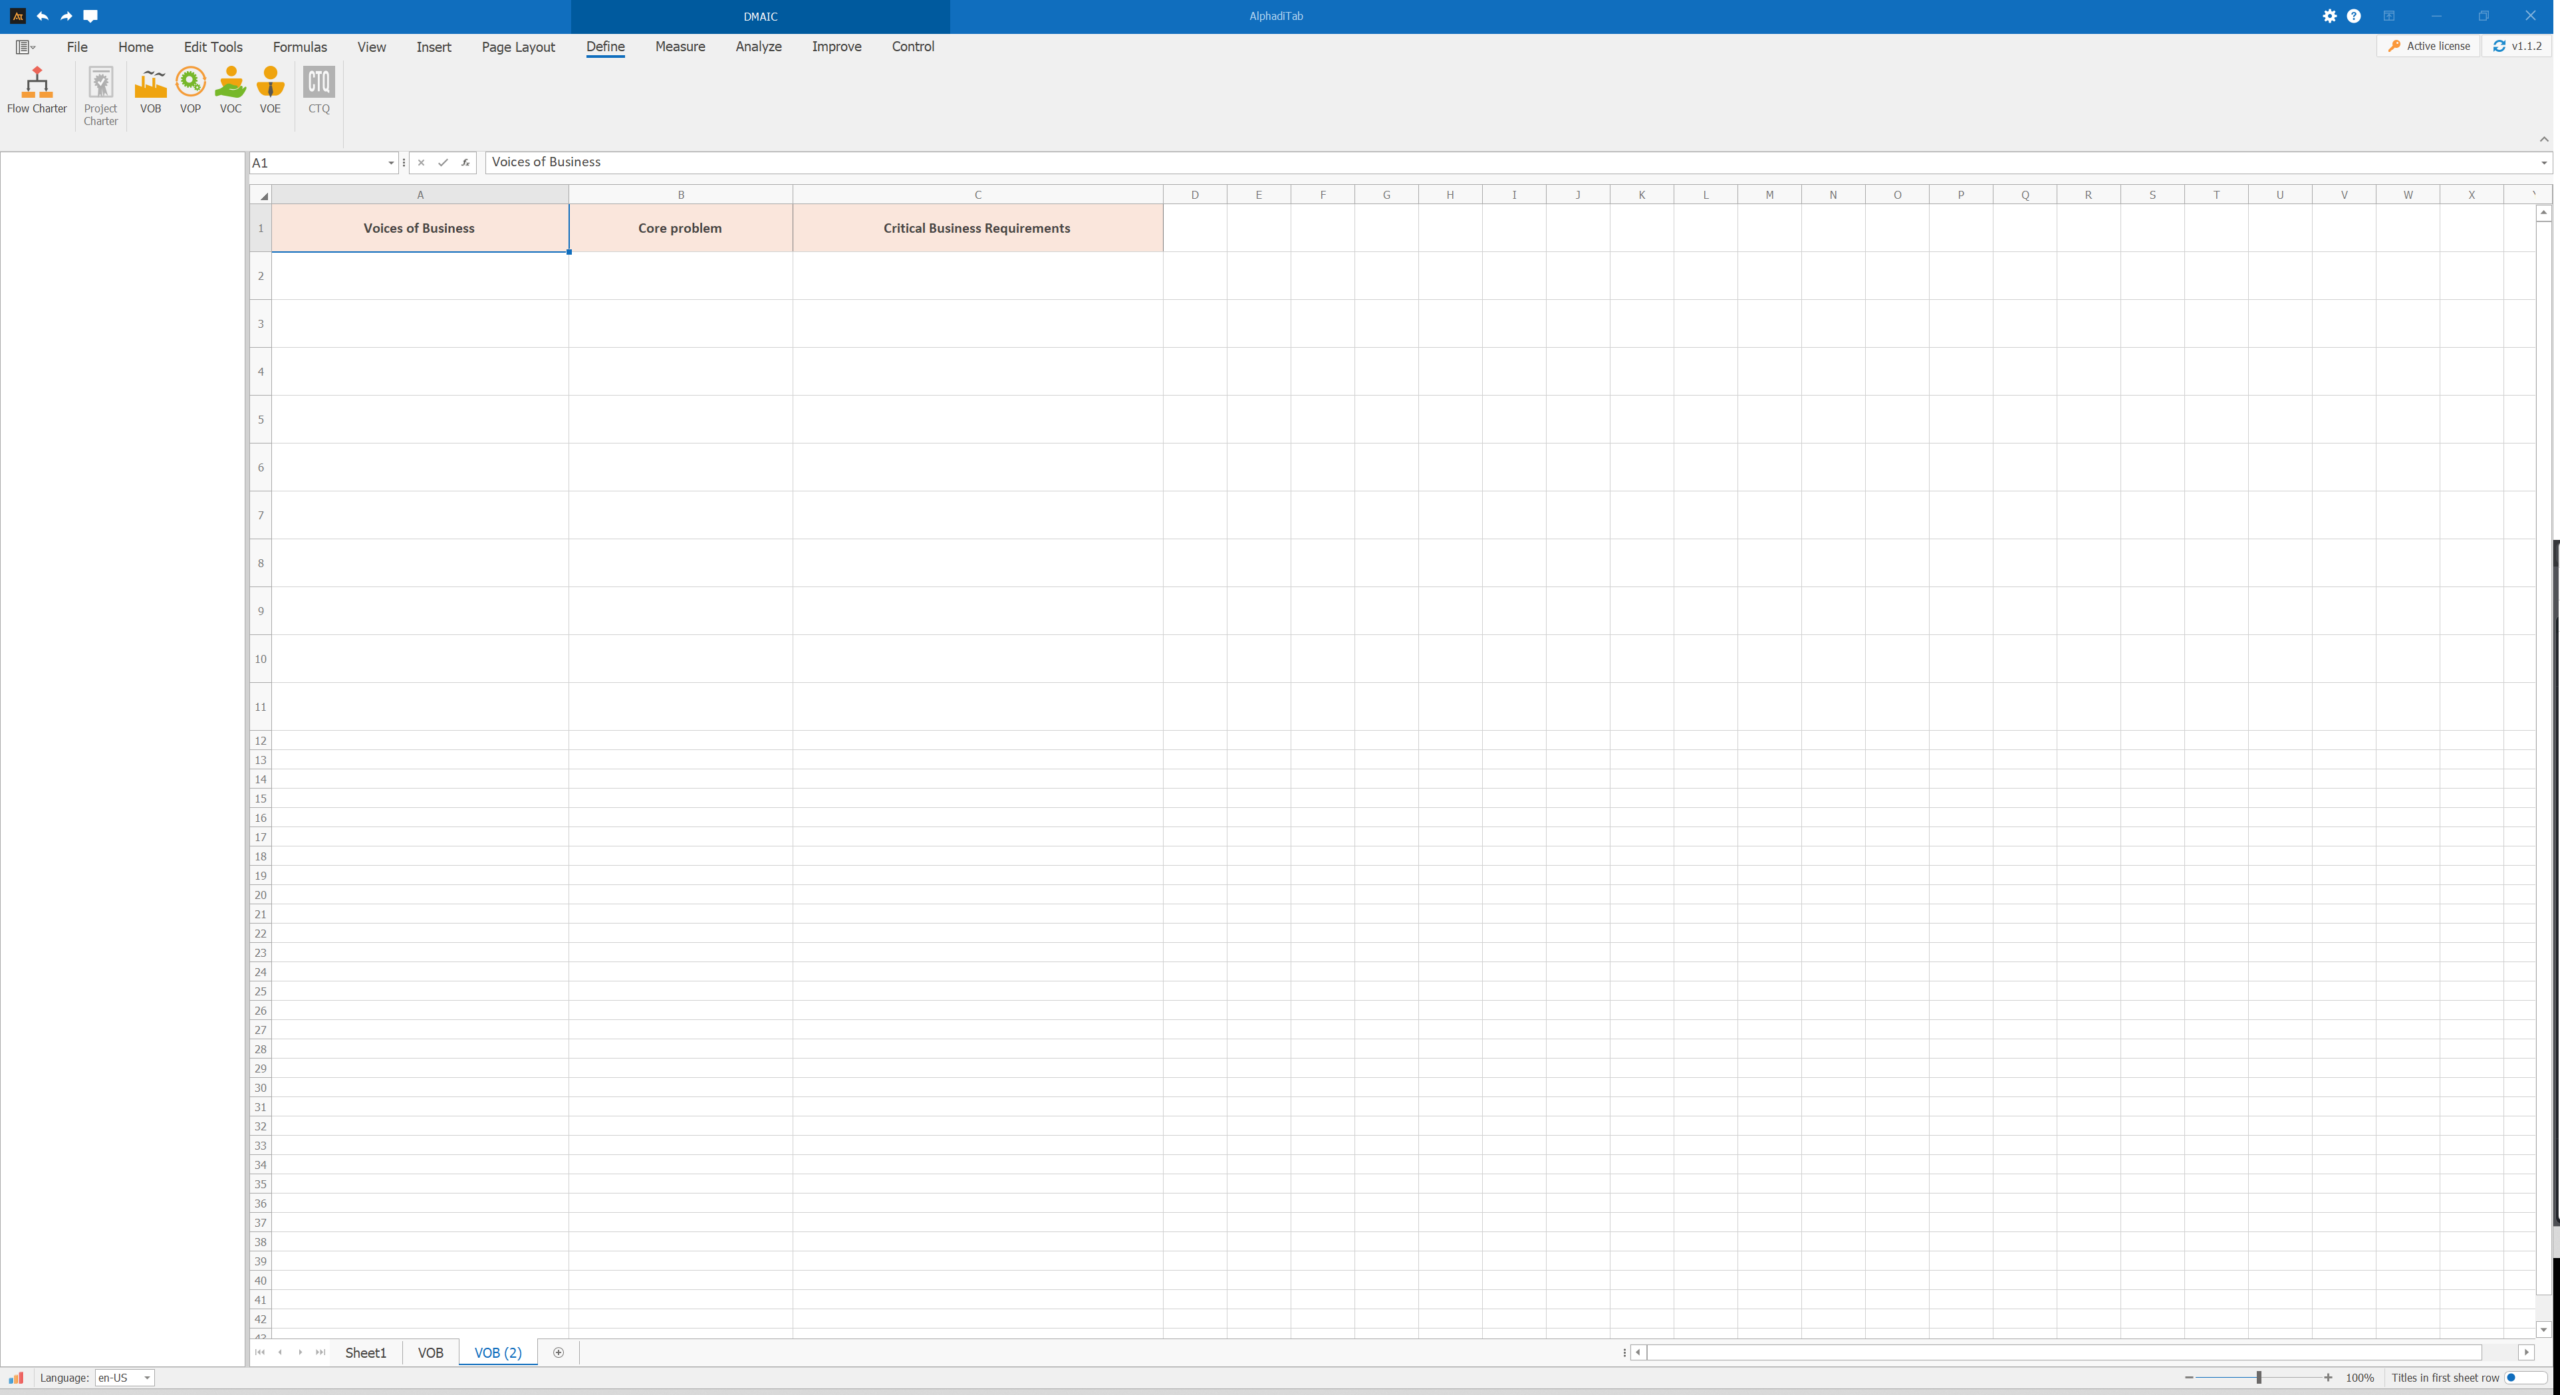
A new VOB worksheet with the corresponding tables and predefined content is created automatically. This worksheet can then be filled out and further edited.
VOB worksheet:
Read more
Data entry
There are two ways to work with column headers:
Option 1: Rename column header
Procedure:
- Press F7 to open a window in which you can enter the column header and confirm with “OK.“
- Alternatively, you can right-click on the column header and select the “Rename column header” option.
Option 2: Use row 1 as the header row
Procedure:
- You can enter the headings in the top row.
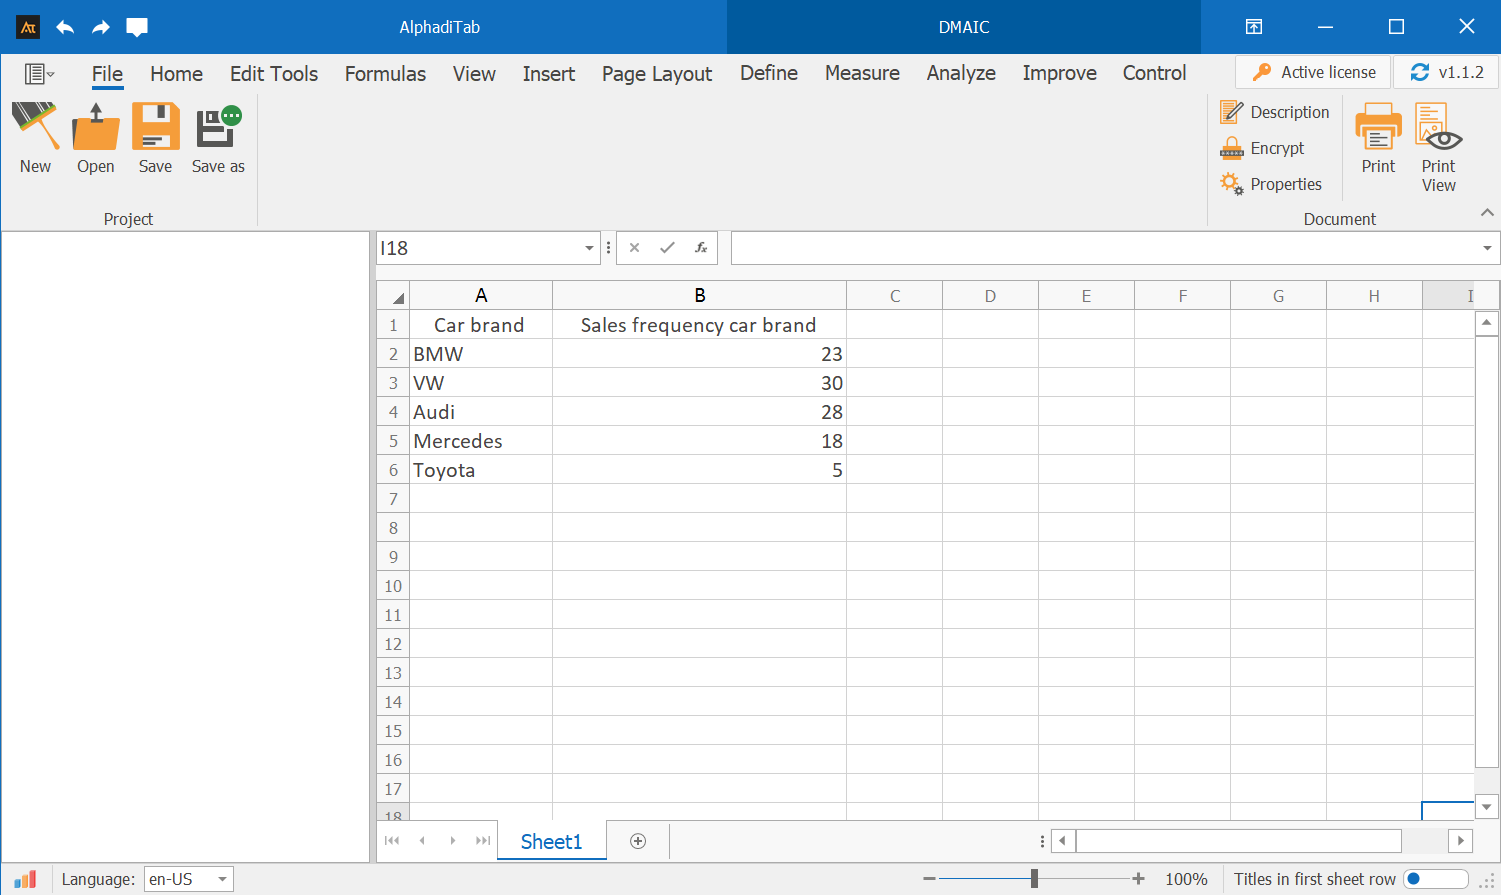
- Important: For this option, the “Title in first worksheet row” option must be activated at the bottom right.
My first chart in AlphadiTab
The procedure for creating analyses is the same for both options. It is only important that the option “Title in first spreadsheet row” is activated in option 2.
Option 2 is used for the following instructions.
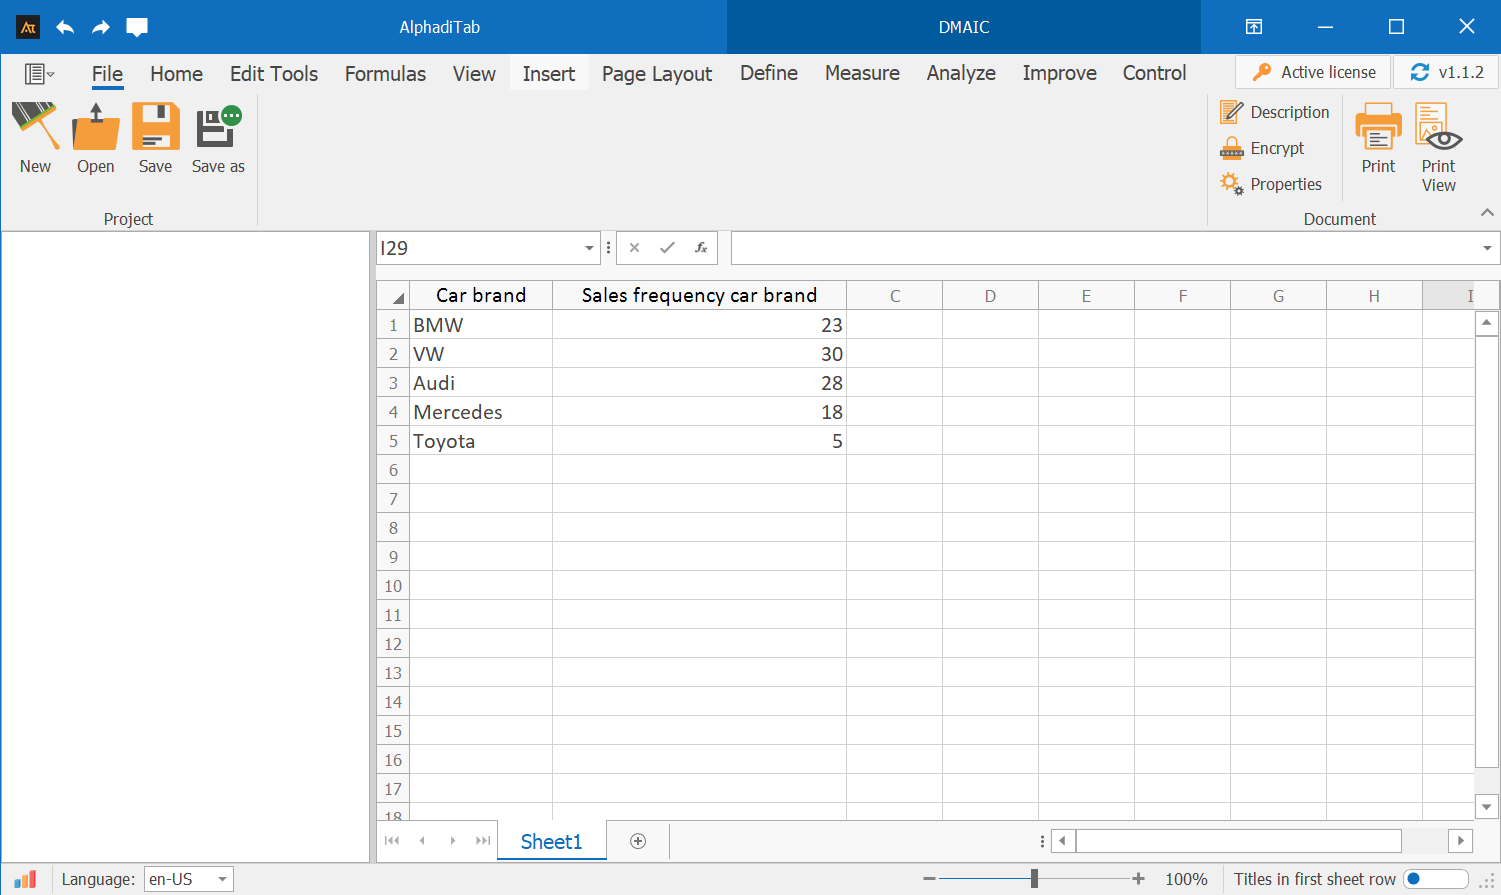
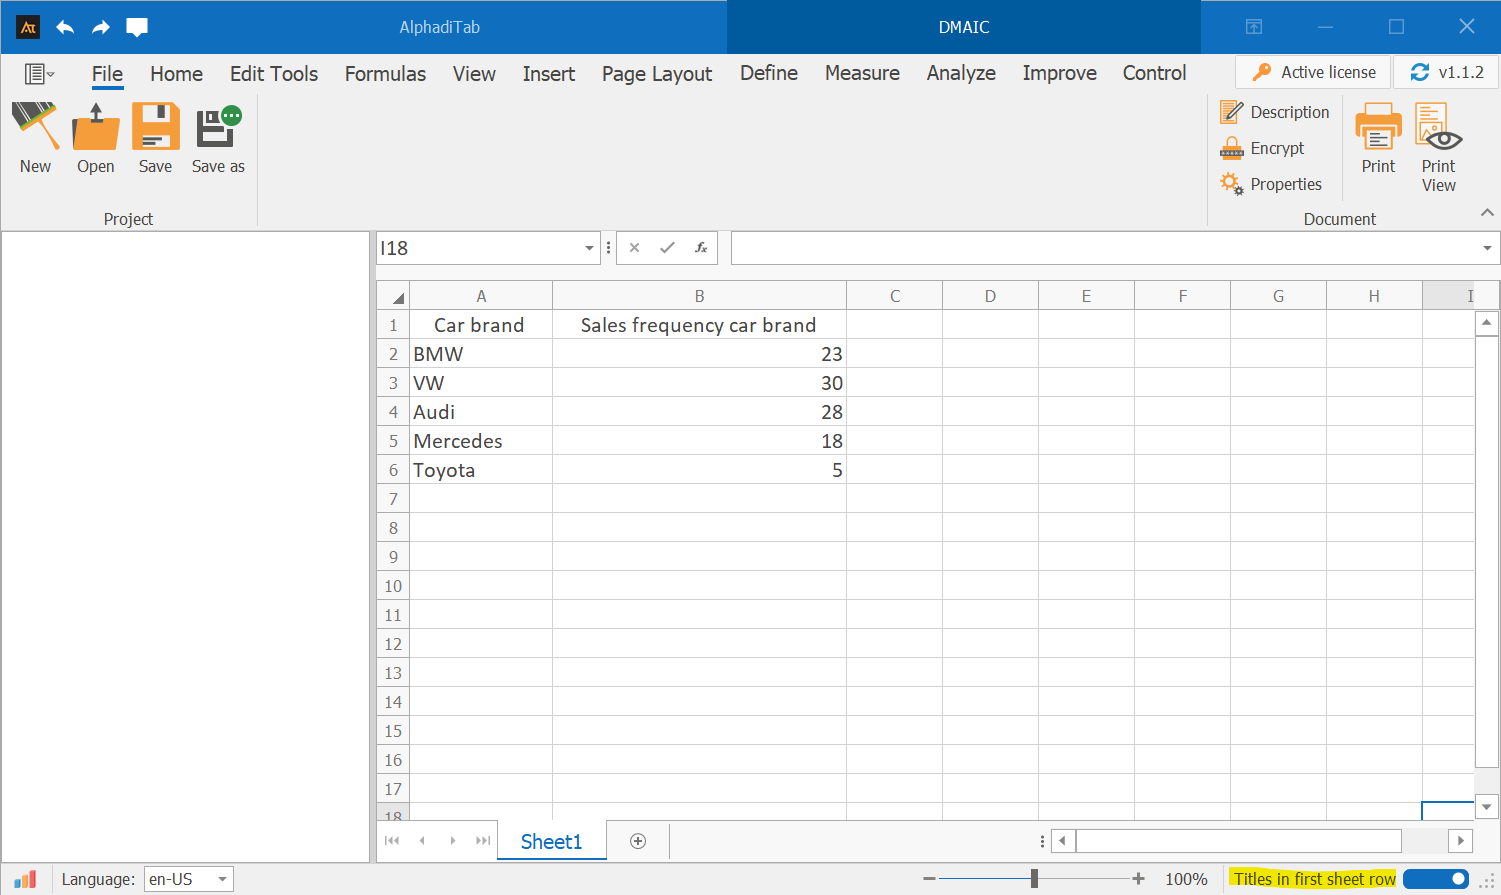
The starting point should look like this:
Creating a bar chart
We will create our first bar chart using the two columns “Car brand” and “Sales frequency car brand.“
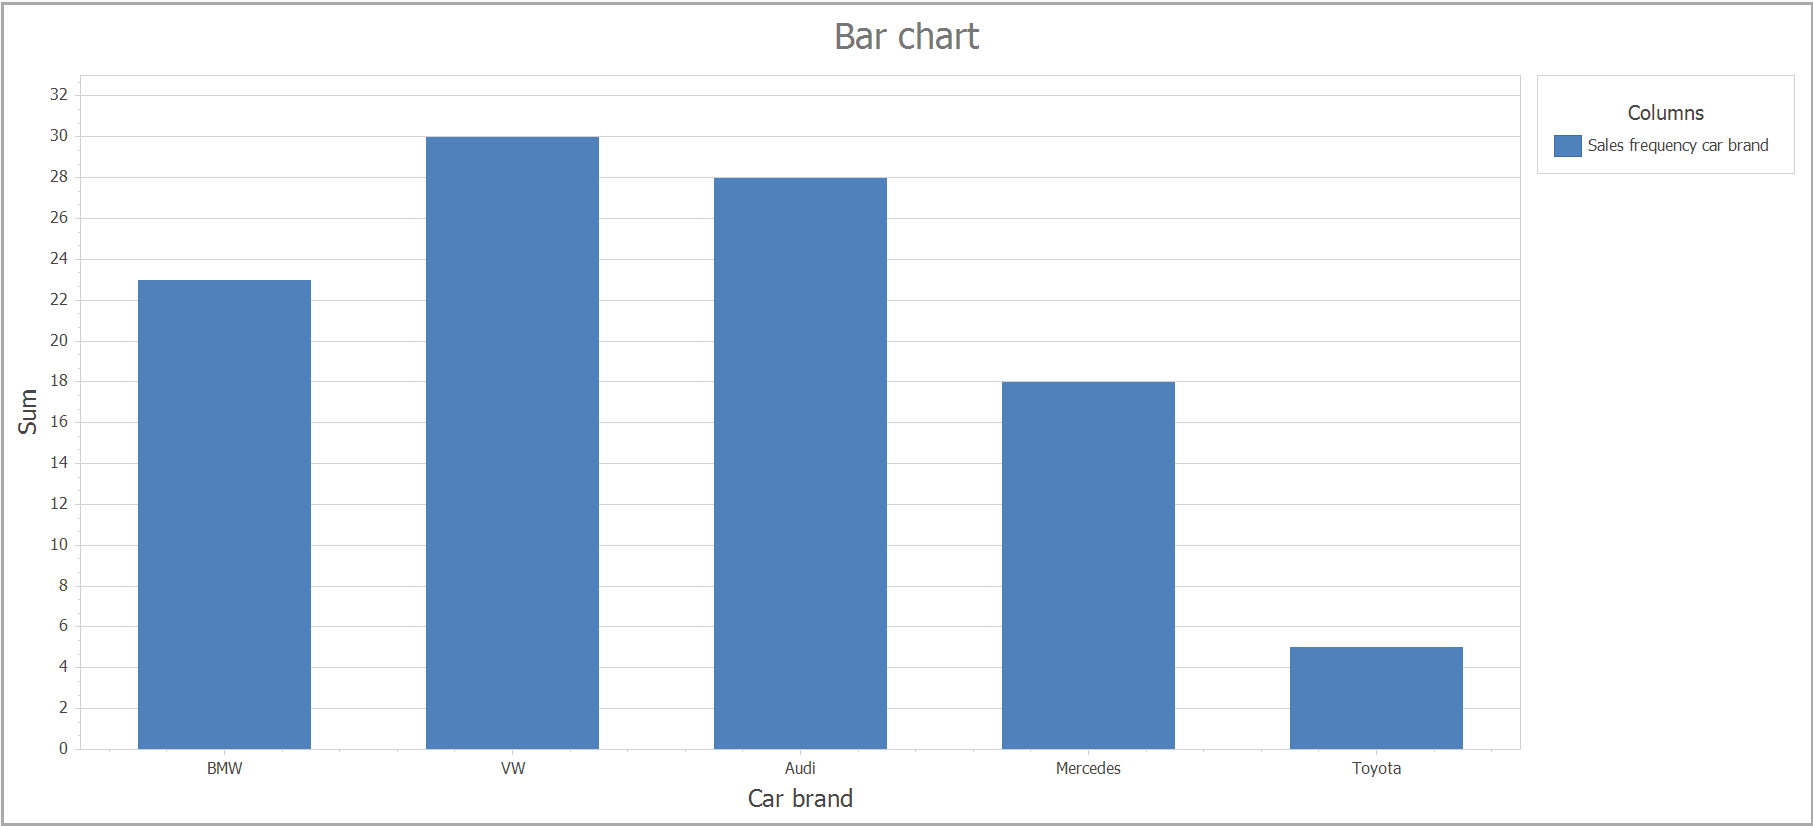
The result should look like this:
Procedure:
Step 1: Go to the “Measure” tab.
Step 2: Click on the “Bar Chart” button.
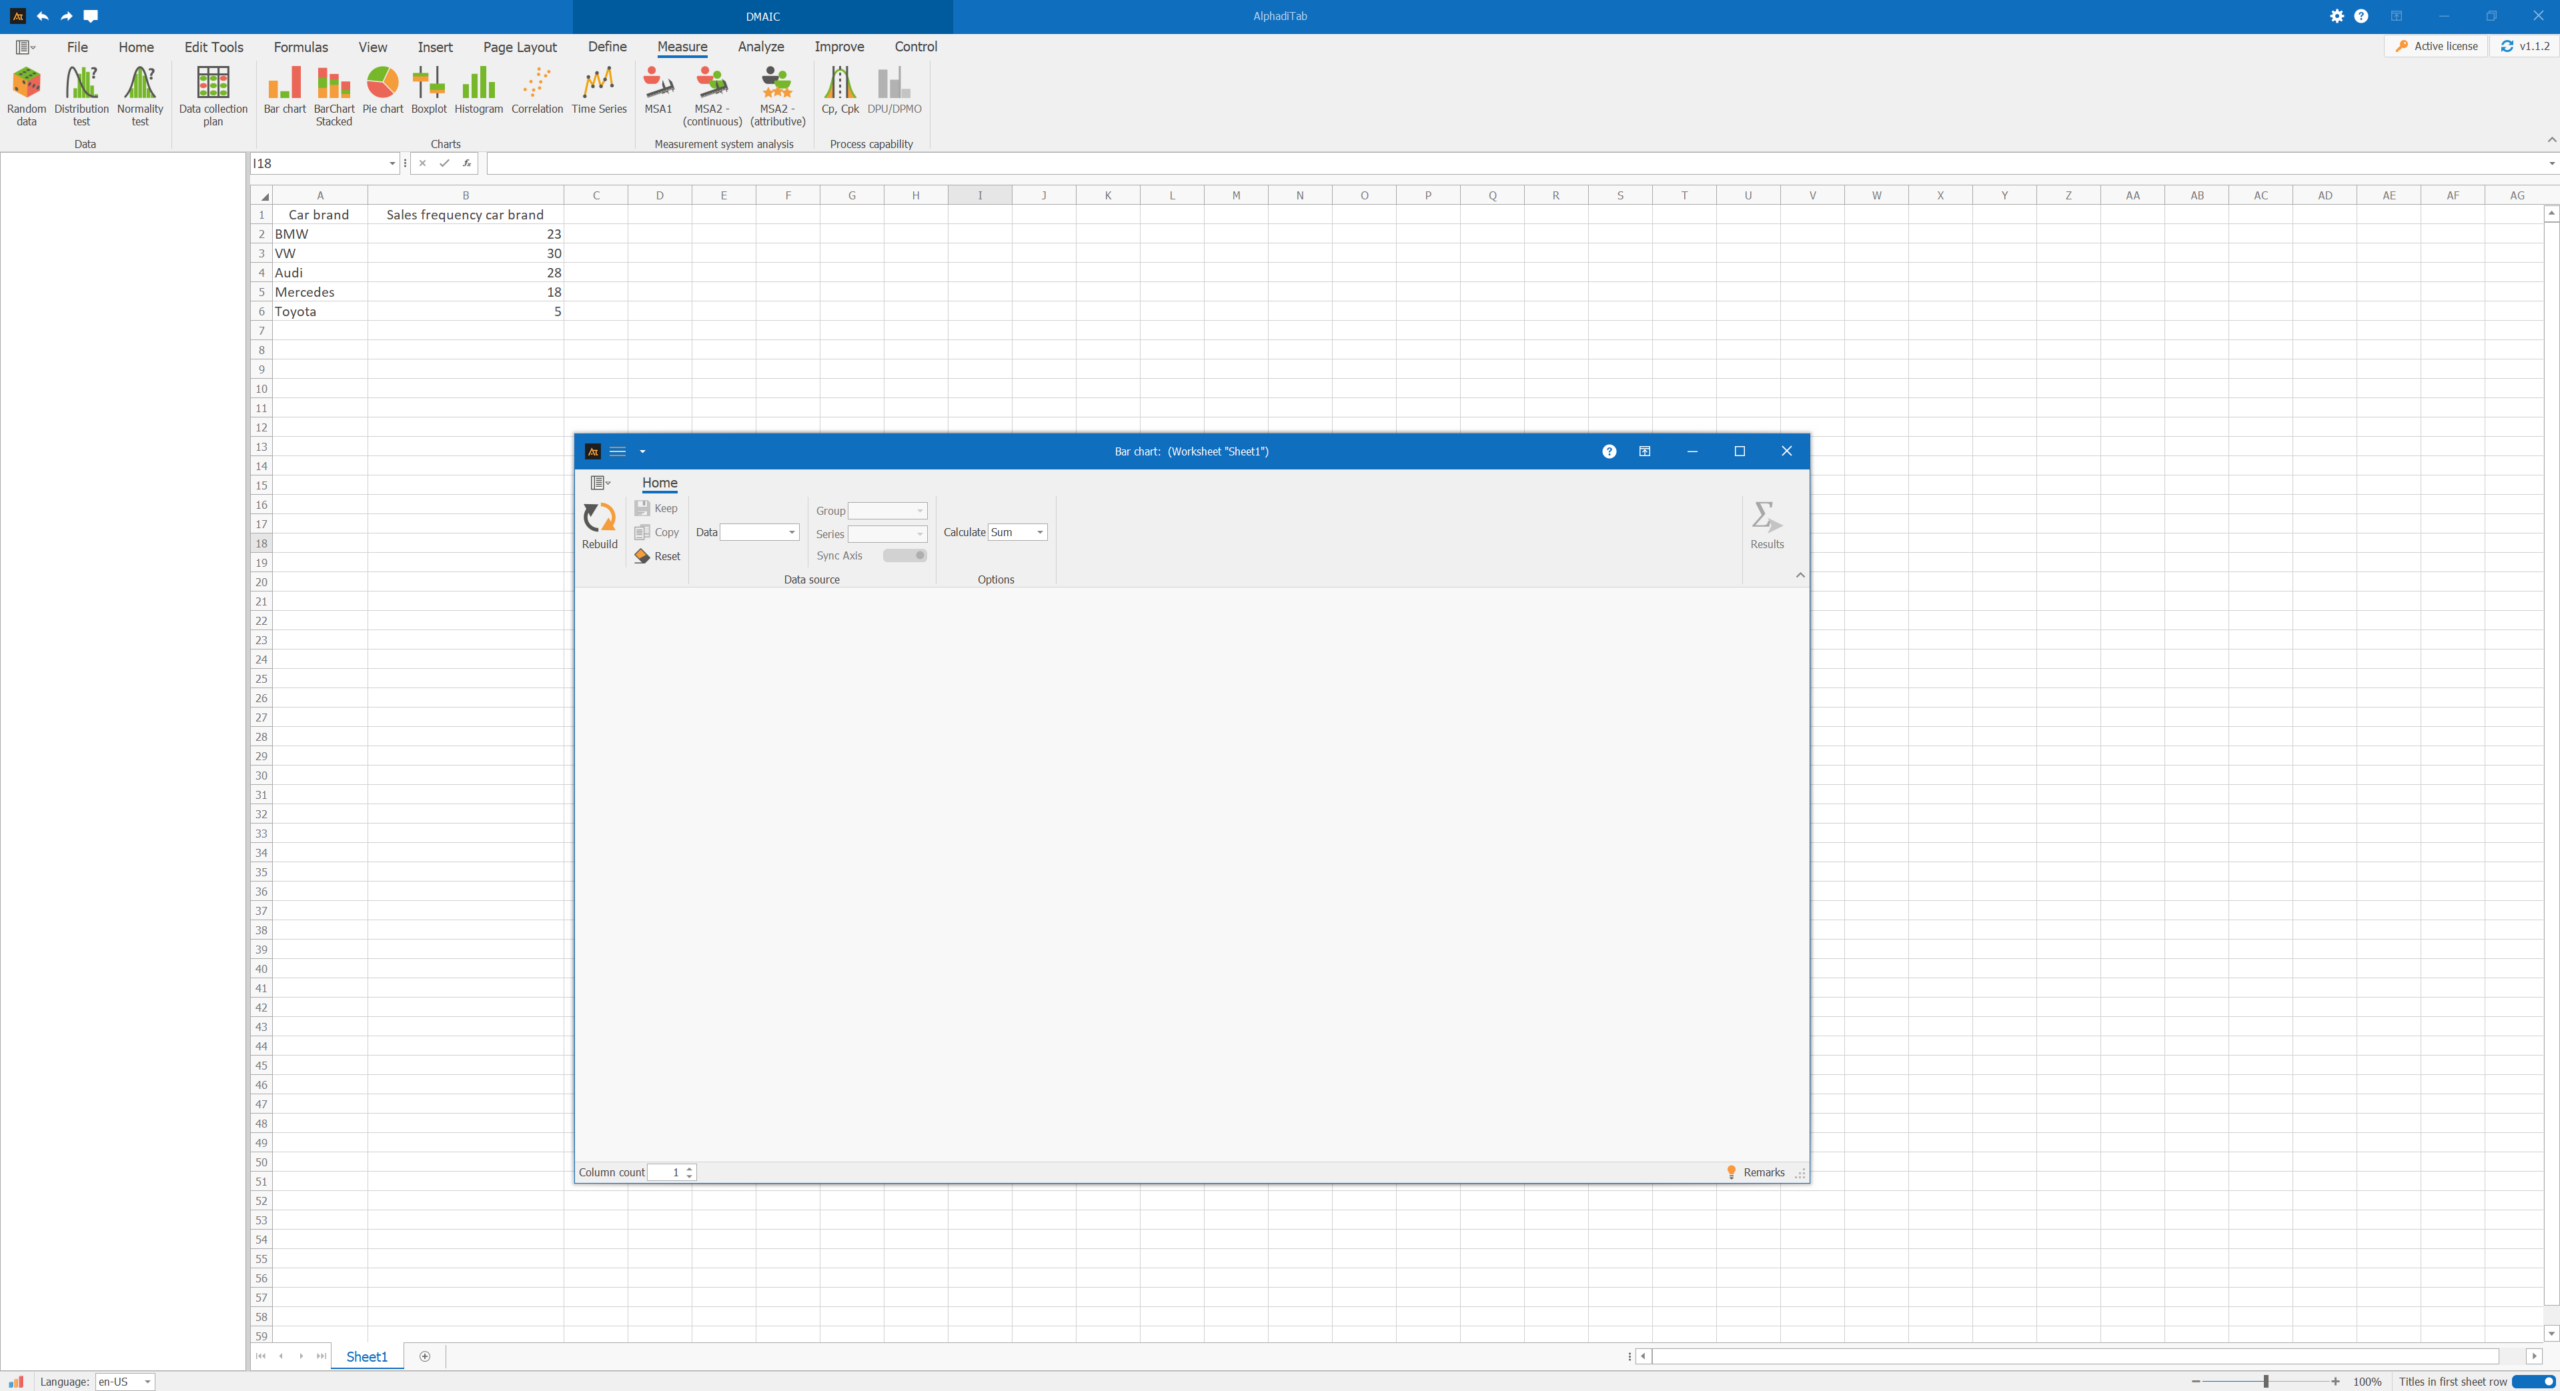
A new form will open:
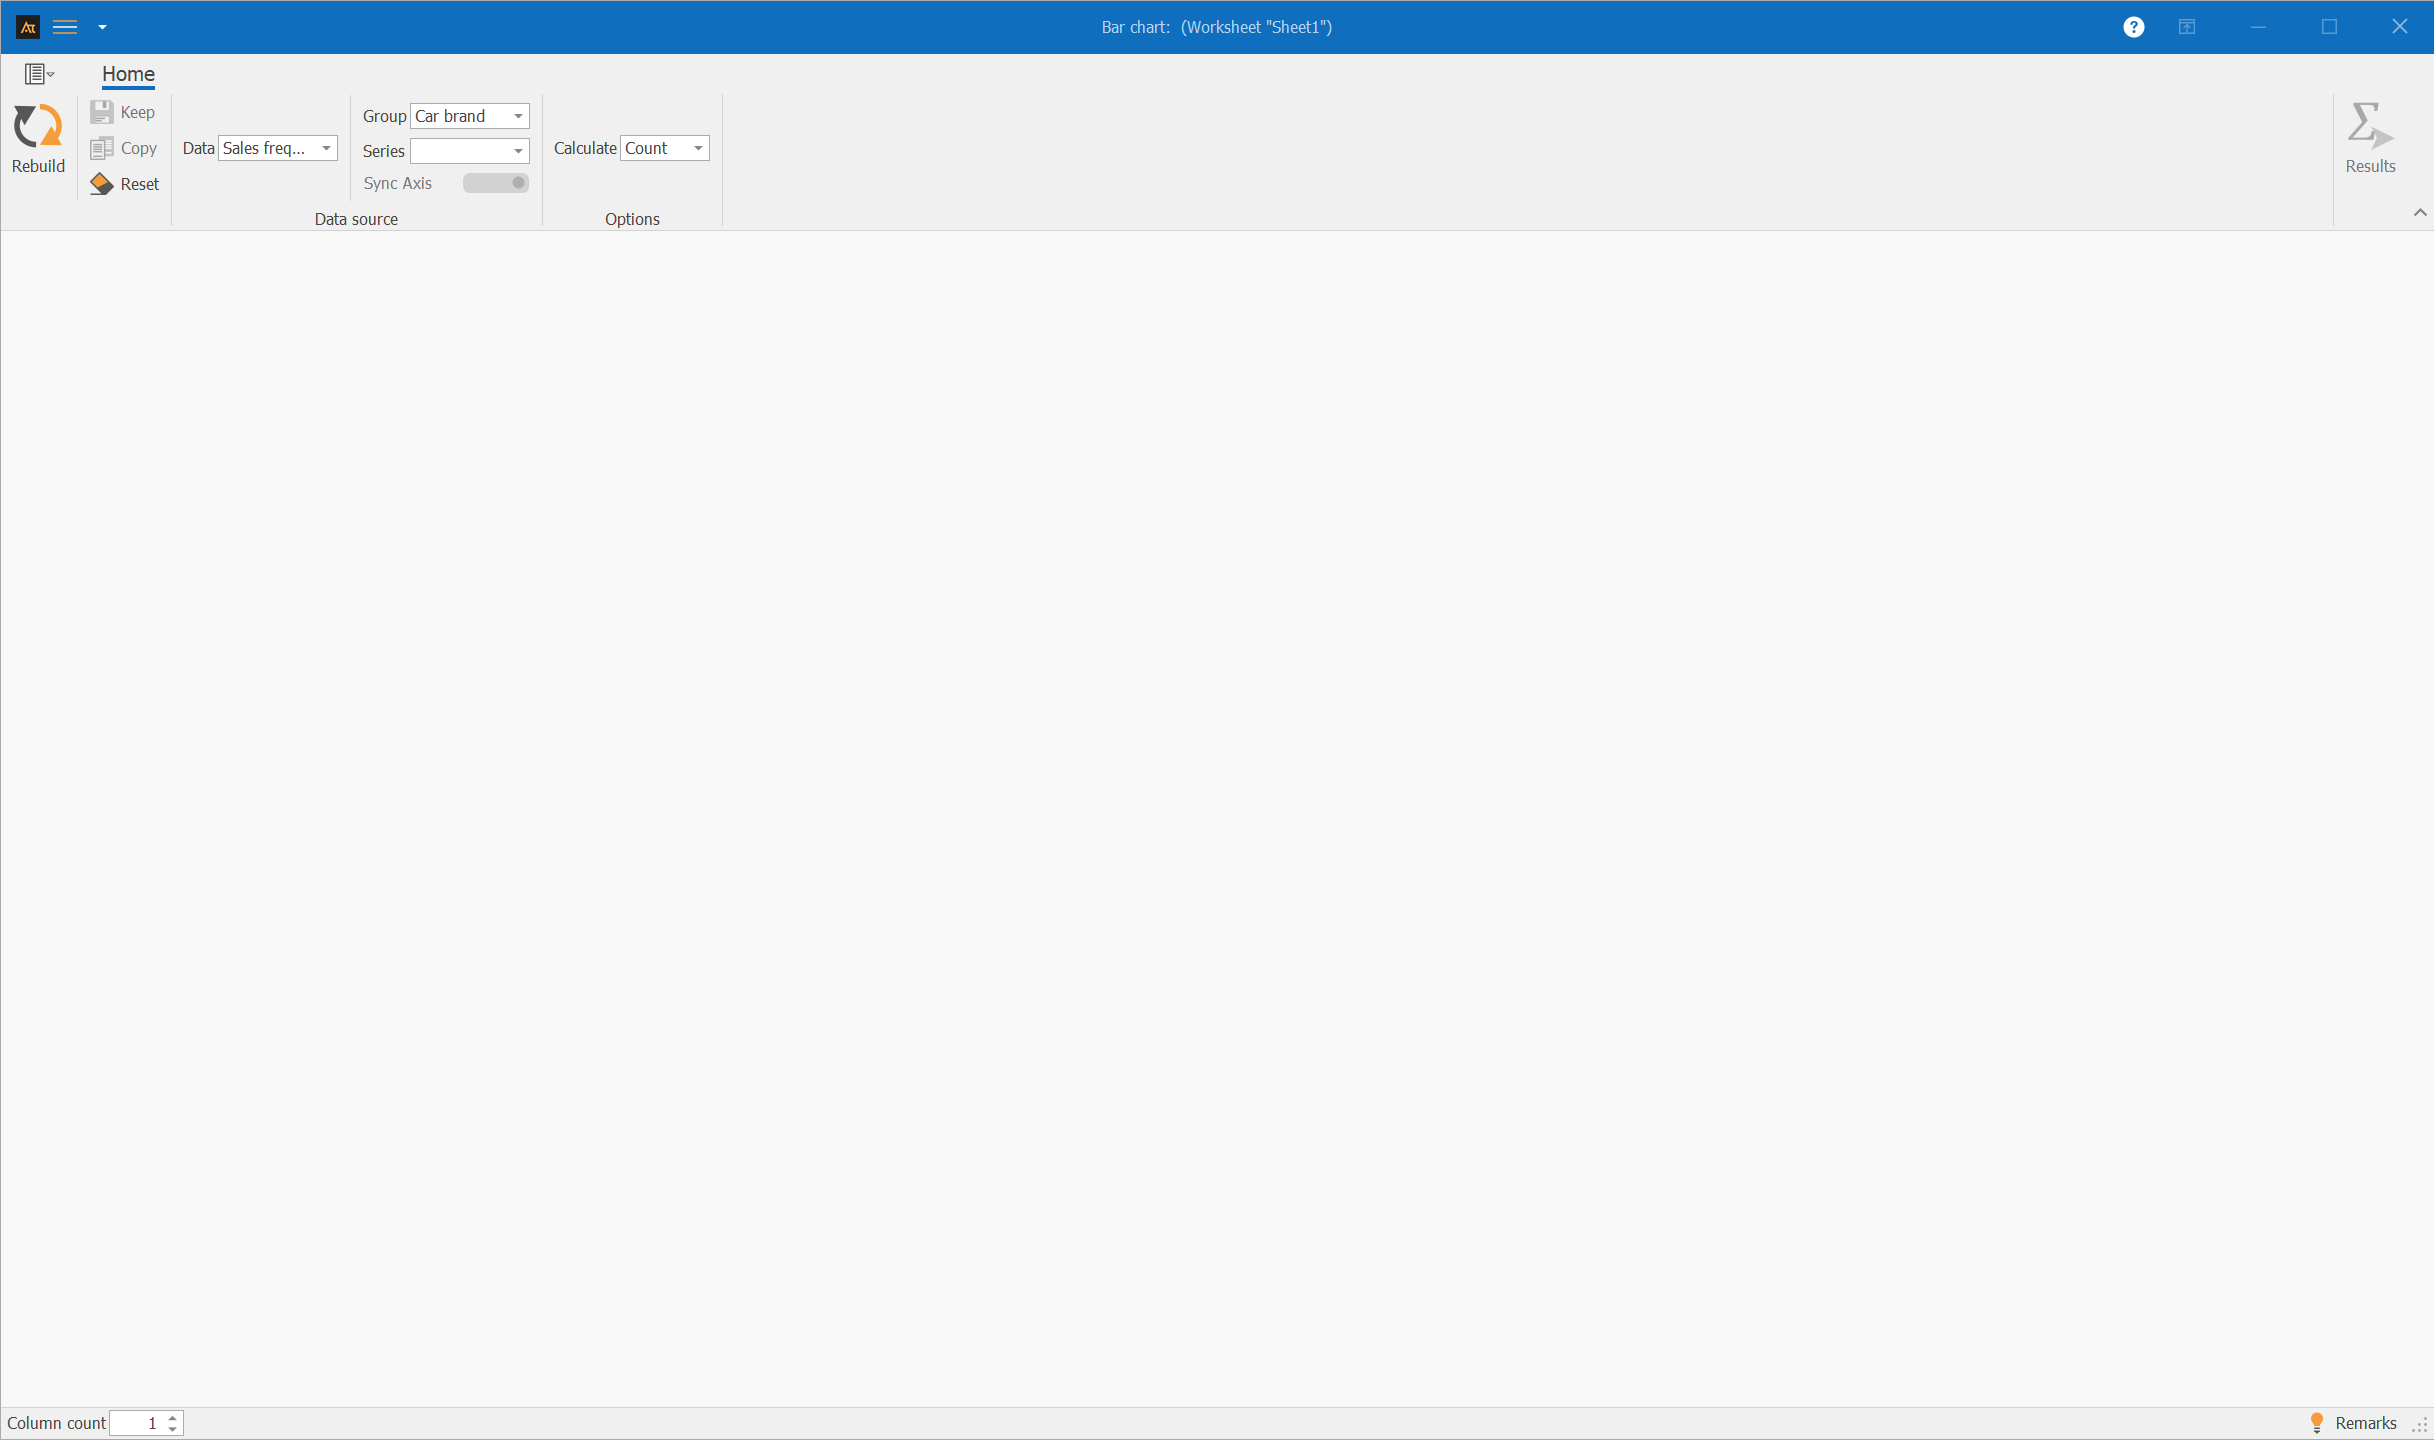
Step 3: In the newly opened form, select the “Sales frequency by car brand” column under Data.
Step 4: Select the “Car brand” column under Group.
Your entry should now look like this:
Step 5: Click on “Rebuild.“
The result should look like this:
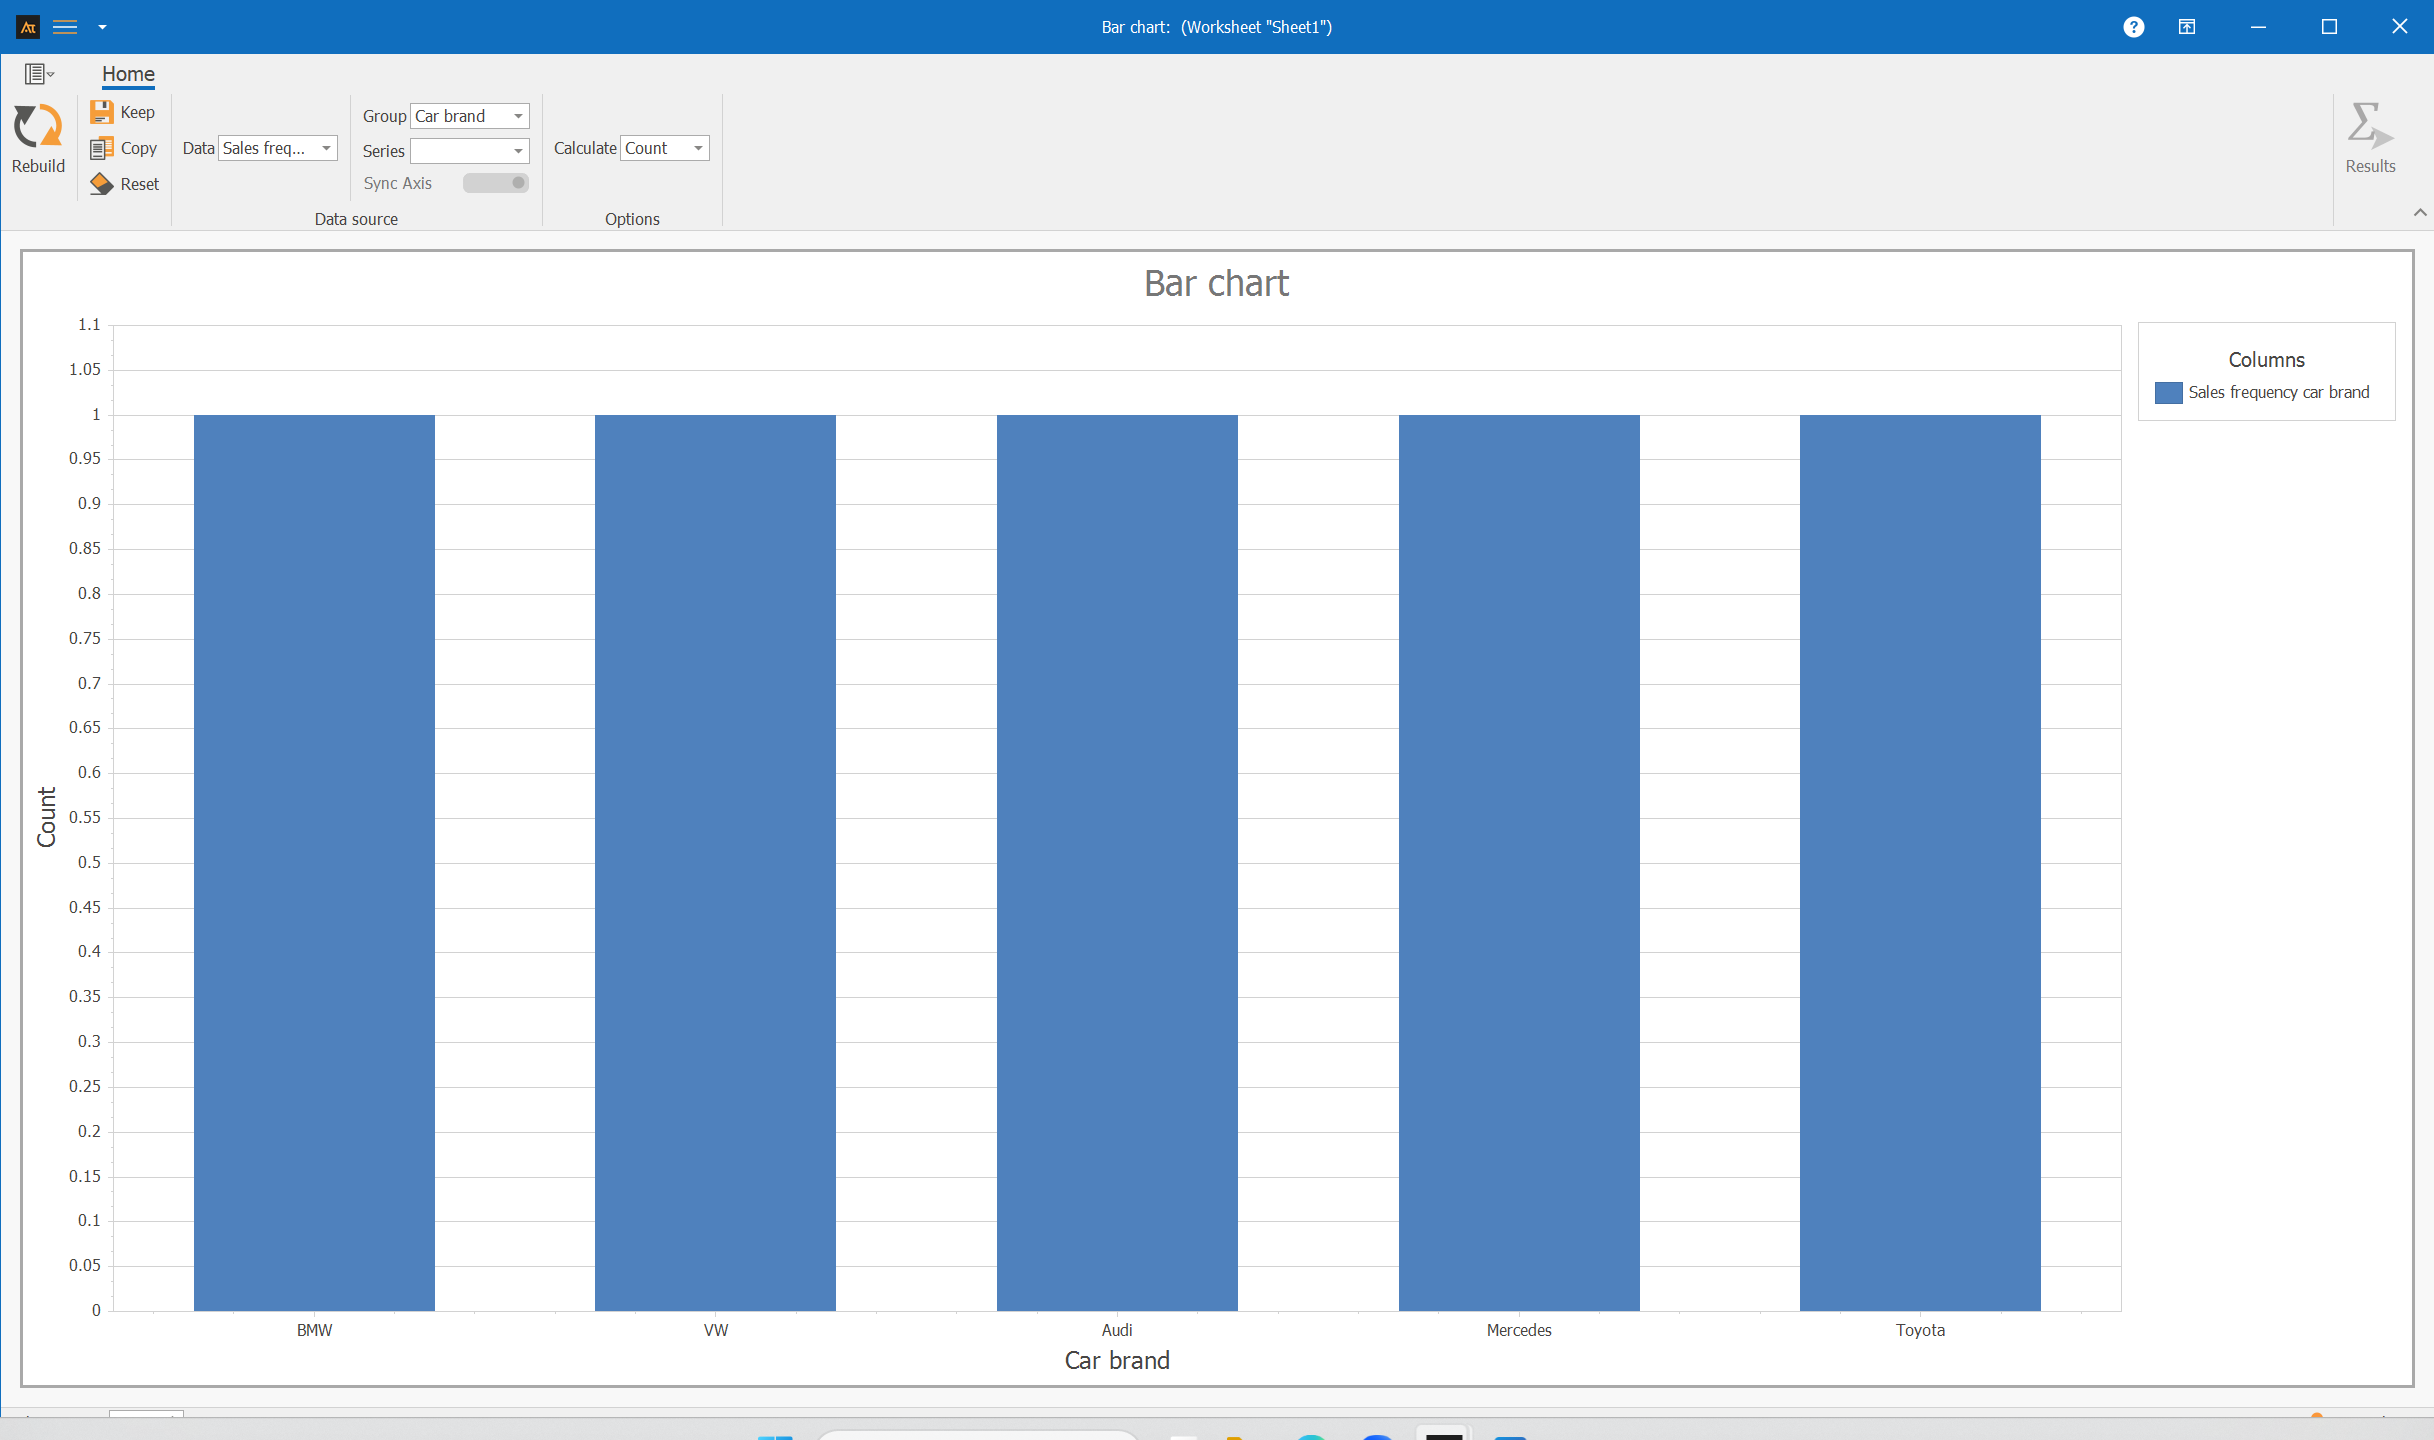
The bars are all the same height because “Count” is still selected under Calculation.
Step 6: Change the value in the drop-down menu under Calculation to “Sum.“
The bar chart is automatically updated, and you get the following result:
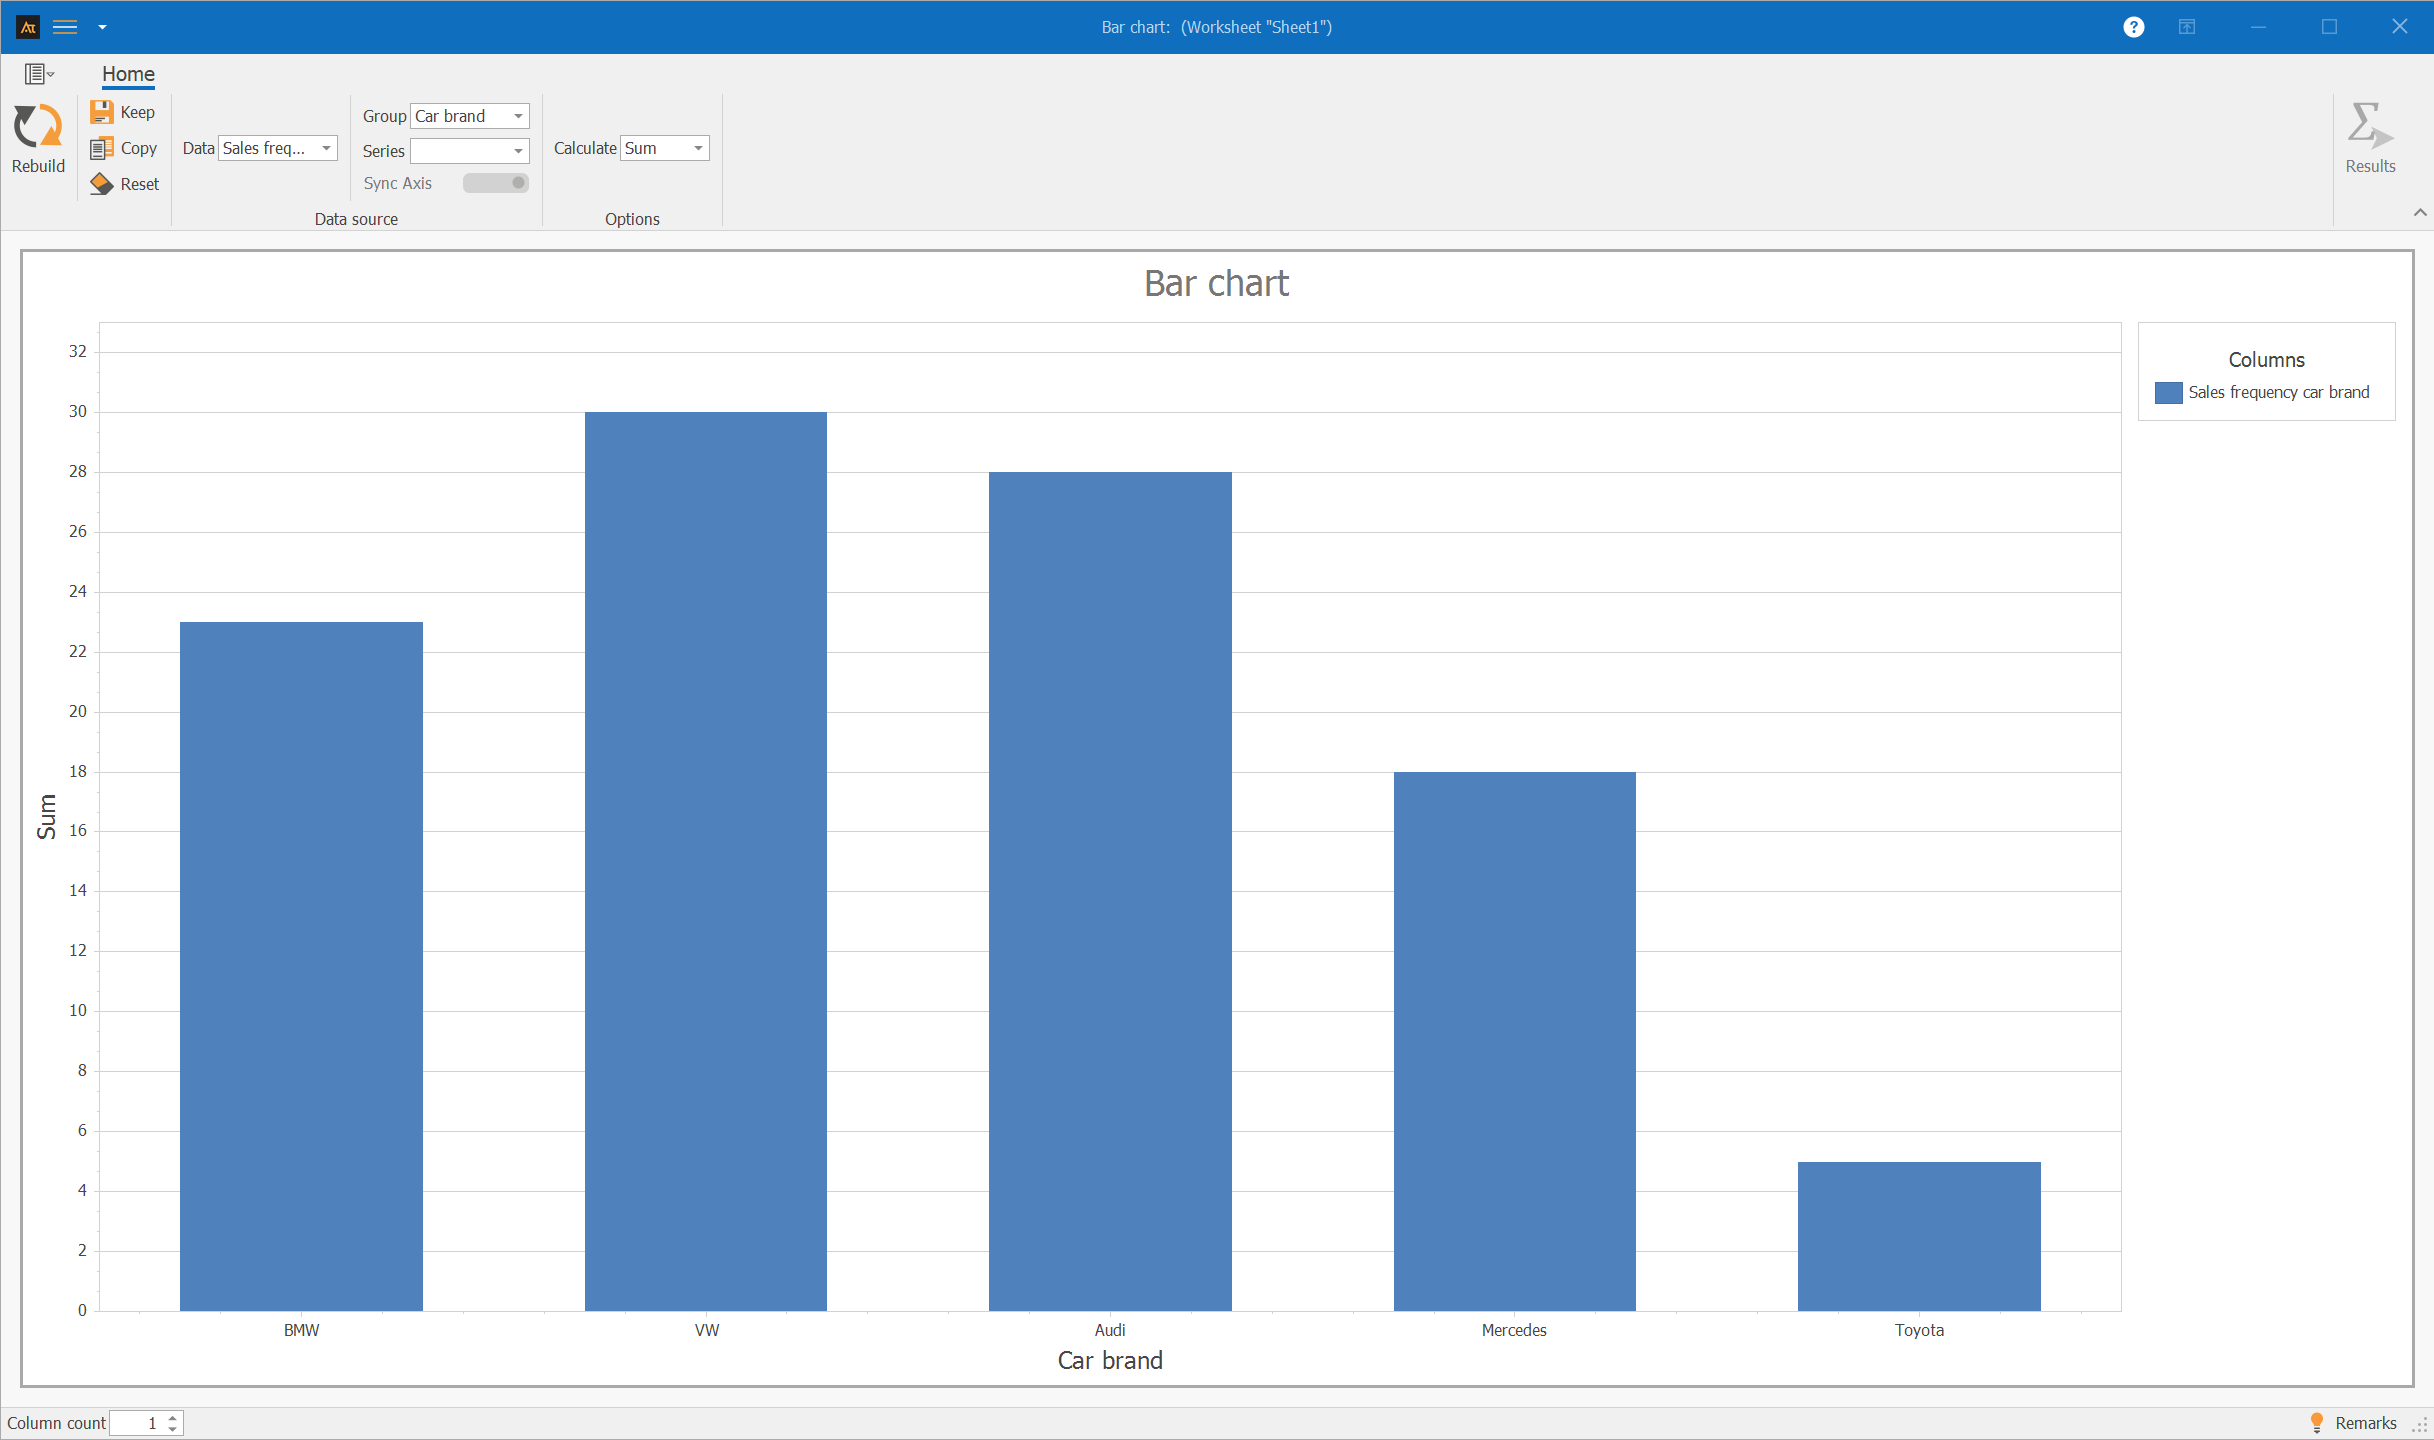
You have now created your first bar chart with AlphadiTab.
Keep form
You have the option to save the analysis you have created in the Navigator. If you do this, you can close the form and reopen it later.
Procedure:
Step 1: Click the “Keep” button in the Bar Chart form.
Step 2: In the pop-up window, enter a name, e.g., Bar Chart Sales Frequency Car Brand.
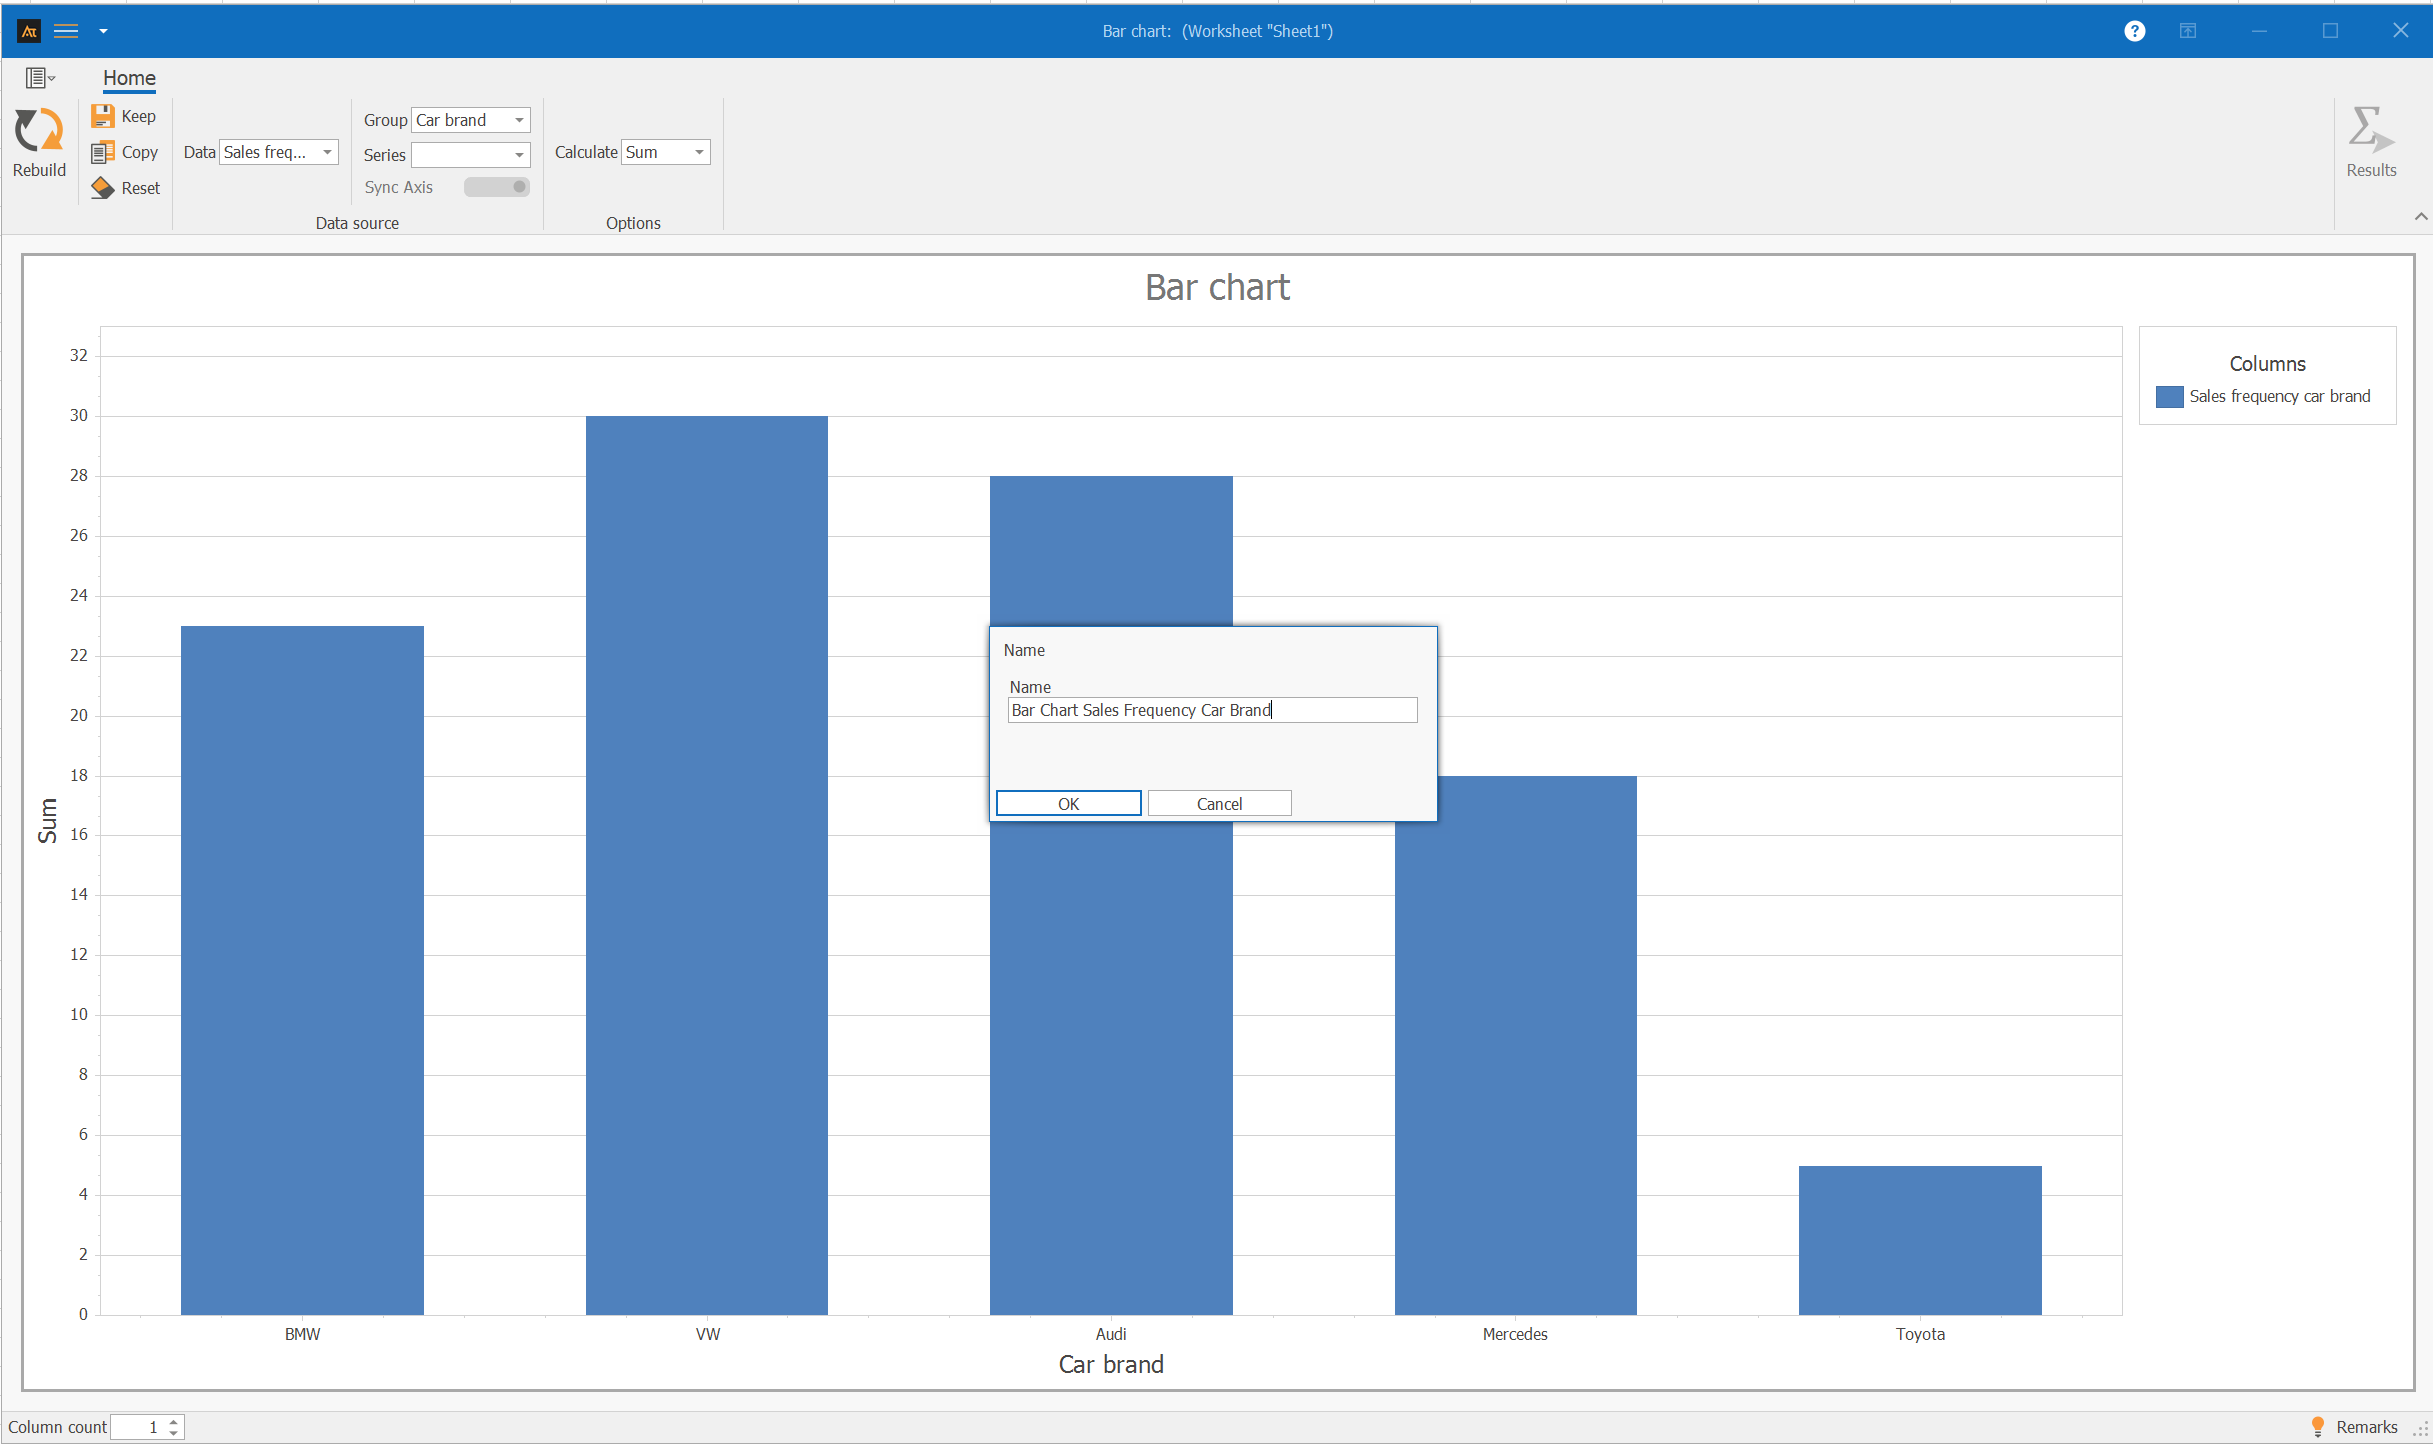
Step 3: Confirm with “OK.“
Your form has been saved in the Navigator:

You can now close the shape and reopen it by double-clicking on the tile in the Navigator.
Transferring the graphic to PowerPoint
To transfer the created chart to PowerPoint, proceed as follows:
Step 1: Open the shape with the chart.
Step 2: Click on the “Copy” button in the shape. The image is now in the clipboard.
Step 3: Switch to a slide in the PowerPoint presentation and paste the diagram using Ctrl + V.